C1 Rear Axle Bearings
written by Jim Lundal, #19C
|
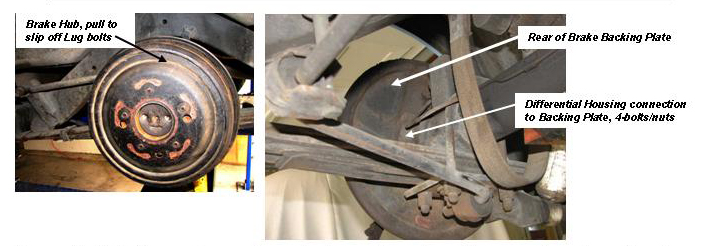
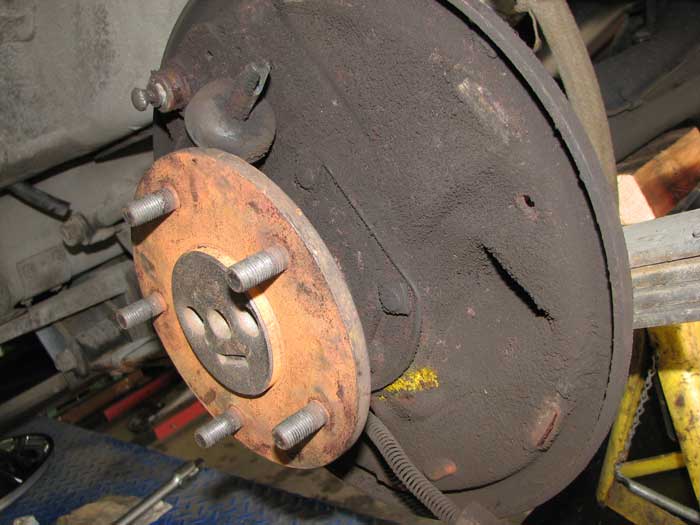
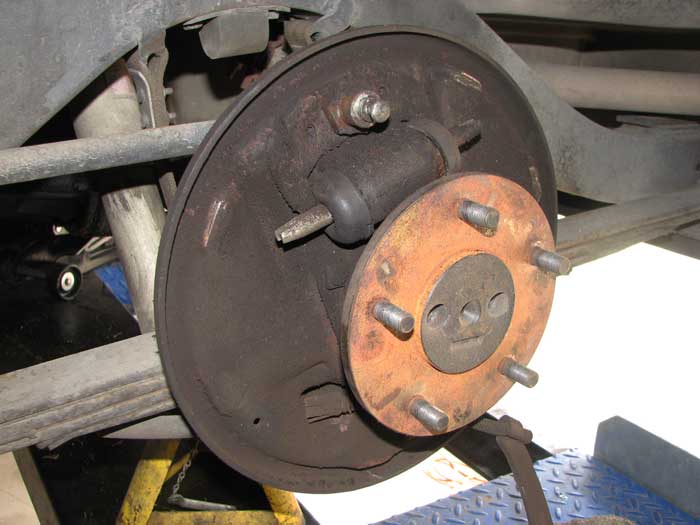
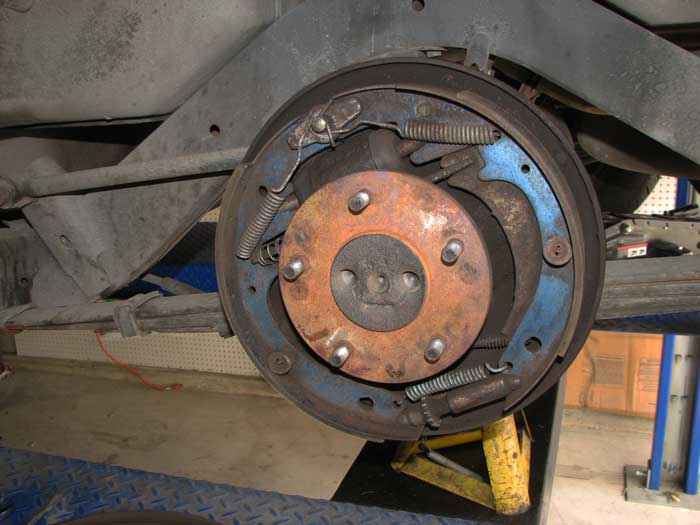
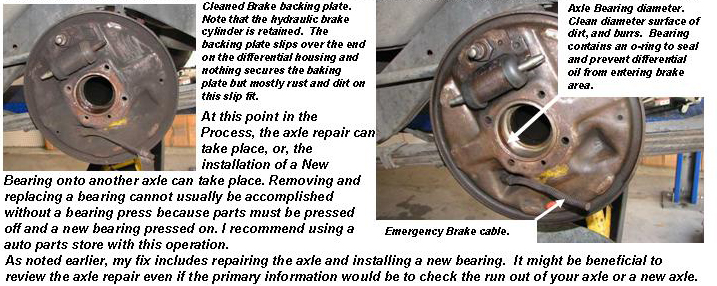
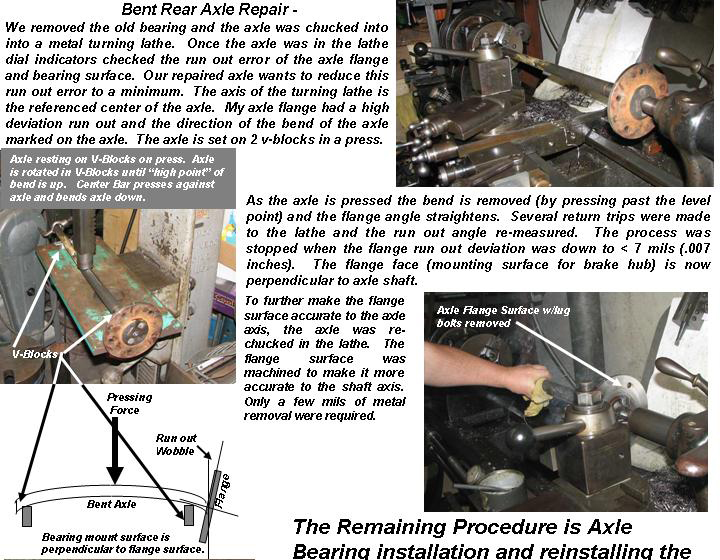
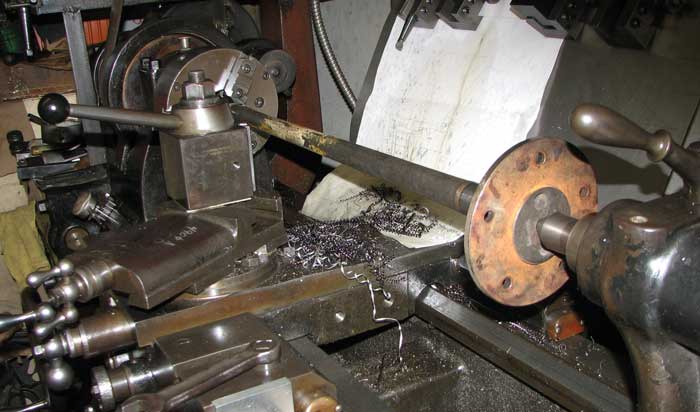
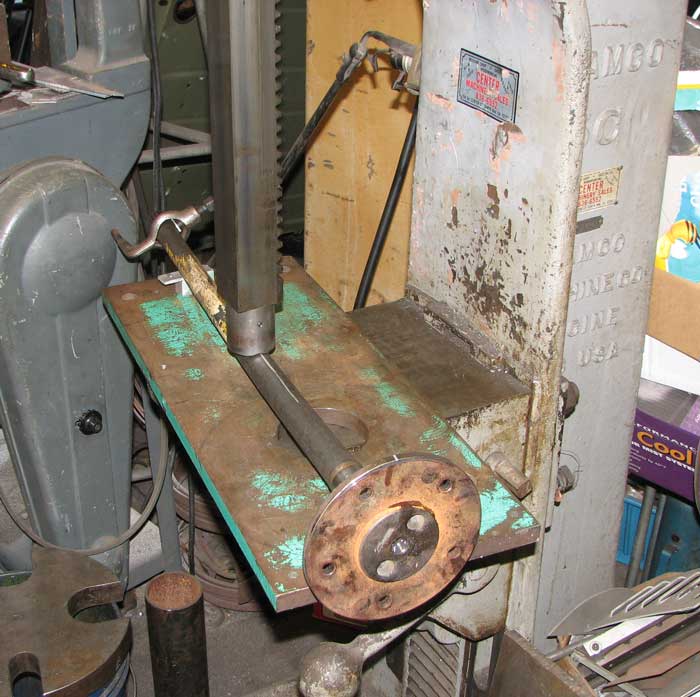
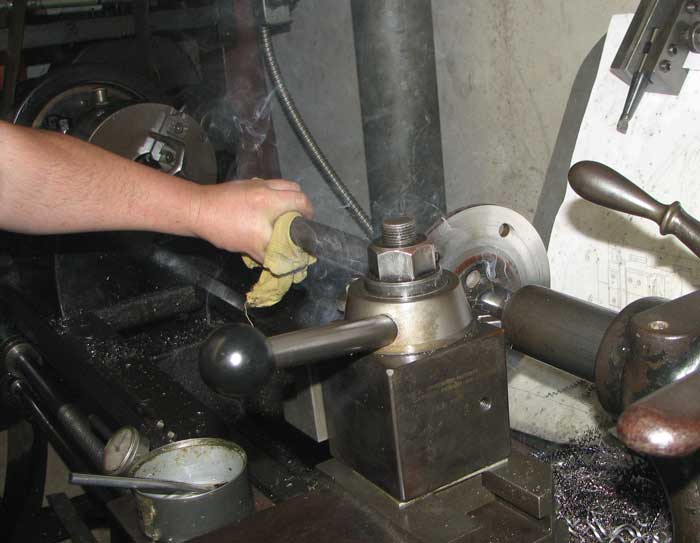
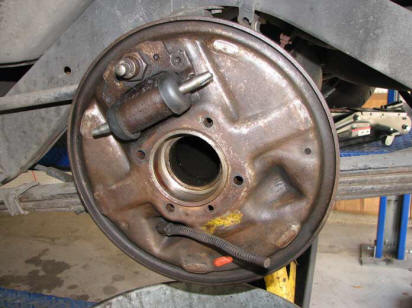
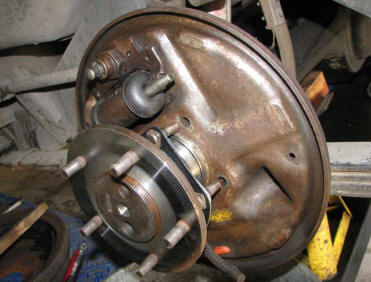
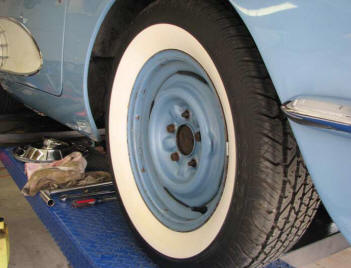
roblem Background: My 1960 C-1 had a condition causing a wobbly left rear wheel, mainly observable by other drivers while driving down the road. After driving the car for 20 years and having other drivers informing me of this condition, I figured it was time to determine the cause. Jacking the rear wheel off the ground and using a dial indicator against the outer tire sidewall, rotating the wheel made it obvious the outer tire sidewall deviated by a significant amount (exceeded ¼ -inch). One method to rule out a bent wheel is to remove another tire and replace the one in question to see if the problem is cured. Instead, I removed the wheel and using the same dial indicator gage against the brake hub outside surface, rotated the hub and noted a deviation. Since the measurement point was closer to the axle (point of rotation) I figured the deviation run out would be less and it was less, but significant. It was also noted that rotating the hub through a full rotation, at one point the hub “dragged/rubbed” on the brake shoe (audible sound). The rear brake hubs slide over the lug bolts and the hub is removed by pulling out on hub. It is apparent since the hub mates against the rear axle flange that any wobbly deviation on the hub is a related deviation of the axle flange. Since the brakes are fixed to the backing plate and the axle housing the rubbing on the brake shoes is most likely caused by a wobbly axle flange surface. A further run out measurement confirmed that the axle brake flange was wobbling and caused by a Bent Axle. Don’t know the cause buy I measured the effect . Procedural Solutions: Obviously the solution is to replace the rear axle on the side affected. C-1’s have a rear axle design similar to the full-sized Chevy. The rear differential contains two axles with splined connections into a center “pumpkin” ring and pinon gear which connects to the drive shaft. The left rear axle is shorter than the right axle. The 1960 C-1 axle slips into a mating splined gear inside the center section. As discussed, it was obvious of the need to repair/replace the bad rear axle. Naturally replacing requires locating a good used axle, or can the existing axle be repaired? Fellow SoCalSACC member Chip Werstein offered later he had a good used axle available but another member, Steve Clifford, said let’s try a repair on the existing part. Since Steve has a friend who owns an extensive machine shop which we could use, it was decided to attempt a repair. This repair process could be very costly without free access to a shop with proper equipment. Without this machine shop connection, replacing the axle is the best/cheapest way to proceed. In either repair the existing rear wheel bearing would be replaced.
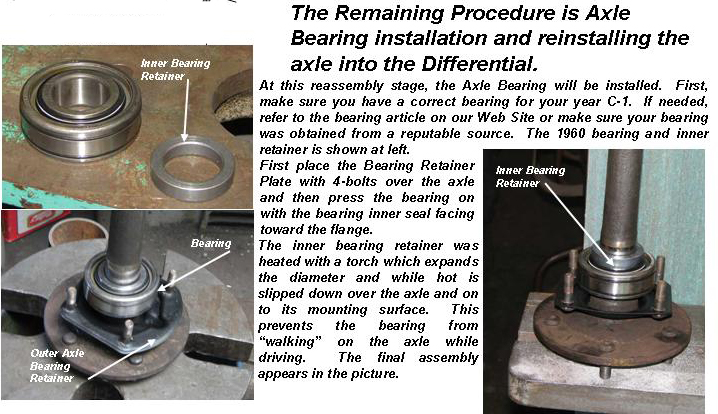
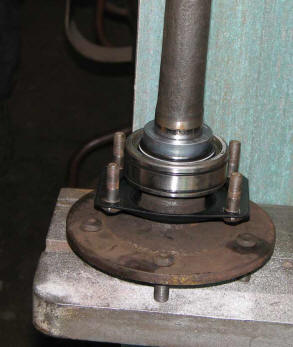
As is a standard practice with axle removal and replacement the pressed on rear wheel bearing is usually replaced. I had a spare set of bearings and had no knowledge of how long the existing bearings had been used in the car.
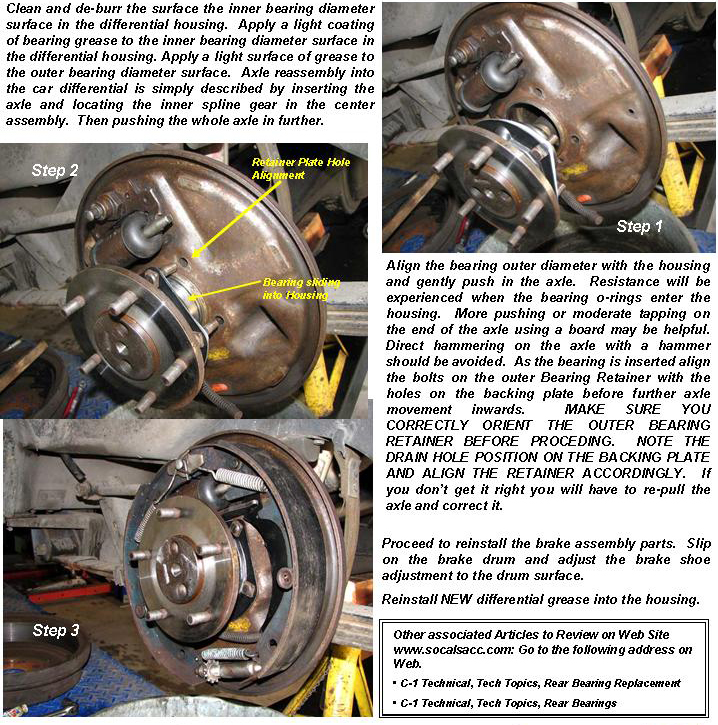
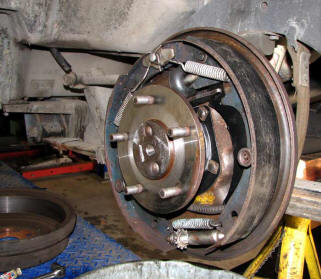
Rear axle removal and replacement can be performed by most people familiar with brake hardware removal and reassembly and basically is no different than any full-sized Chevy’s. I usually use an axle puller to extract a rear axle. I also use a auto parts machine shop to remove and install the Bearing. Many times an axle puller can be obtained at your local auto parts store. My example, Kragen Auto which will take a deposit for the puller and the deposit is credited when you return the puller. It is advisable to obtain a replacement axle bearing prior to beginning this job. Check with your parts house or order a new bearing from Corvette Central. Most auto parts stores will take the axle and remove and install the new bearing. I have also used NAPA Auto for this process.
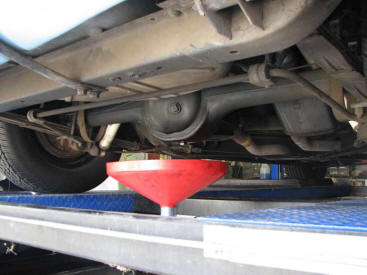
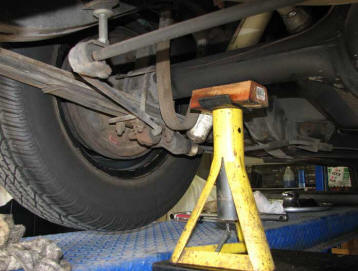
The axle removal and replacement process is more extensively described on our SoCalSACC Web Site, C-1 Technical, Axle Removal & Replacement. Other technical descriptions are also available on axle bearings and axles. Raise the wheel, install a jack stand and drain the differential grease
|
||
|
